Mixing: Equalization
What is ‘equalization’? How do we use it effectively in music production? This useful short breakdown of all you need to know, the first in a series by French producer Valentin Cavanna, explains all the essentials in using equalization when recording, production, mixing and mastering professional audio.
This is a short article, written by Abbey Road Institute alumni Valentin Cavanna, designed to give a quick and efficient overview of the process of equalization.
What is Equalization?
Equalization is the process of adjusting the volume of different frequency bands, within an audio signal.
Each equalizer generally consists of these fundamental parts:
1. A frequency selector - also known as a “band”.
2. A gain control - to ‘amplify’, or ‘attenuate’ the desired frequency (turn up/turn down).
3. A Q factor - to change the shape of the ‘band’, making frequency correction more precise and targeted.
A standard equaliser ‘EQ Eight’ in Ableton Live 11. ‘Frequency’ is represented in the top left, ‘Bands’ are numbered 1-8 and an example of ‘sharp’ Q resonance is represented under Band 3.
It is preferable to apply equalisation to each track in order to remove unwanted frequencies, and avoid ‘frequency masking’.
‘Frequency masking’ occurs when two sounds are played at the same time and share similar, or nearby frequencies. The louder, more dominant sound may partially mask the weaker or less dominant sound.
As a result, the masked sound may seem less present (like you have turned down the volume) to our ears.
This is due to our auditory system's processing of sound frequencies. Some frequencies are also more sensitive to our ears than others.
When two sounds share similar frequencies, the louder sound may occupy more of our auditory system's attention, making the softer sound difficult to discern. It will appear quieter.
Summary: ‘frequency masking’ makes your track sound quieter.
graphic showing a crossover of frequencies (red) between two sounds which shows ‘frequency masking’. credit: writeproducemusic
Frequency Bands - Explained
Here are the different frequency ranges and a quick description of how we perceive each of them:
‘Subsonic’:
~20 Hz
(vibration-only, ‘sub’ - you feel these frequencies)
‘Low Bass’:
20 Hz - 60 Hz
(bass, kick drum resonance)
‘Mid Bass’:
60 Hz - 120 Hz
(toms, bass guitar, ‘energy’ in bass)
‘Upper Bass’:
120 Hz - 240 Hz
(fundamental energy of most instruments)
‘Low Mids’:
250 Hz - 2 kHz
(timbre, colour, tone of instruments)
‘High Mids’:
2 kHz - 6 kHz
(sensitive frequencies of the human ear, make sounds present & clear)
‘Highs’:
6 kHz - 15 kHz
(frequencies related to ‘brilliance’, ‘clarity’, ‘sheen’, ‘sharpness’)
‘Air’:
over 15 kHz
(impression of airiness, light + bright)
a useful chart that details the most important frequency ranges of acoustic instruments. One for the engineers & instrumentalists!
‘Colour' & ‘Tone’ with EQ
Some equalizers are used to add ‘colour’ to your mixes, such as the PulTec EQP-1A or NEVE 1073 equalizers.
They add additional harmonics (extra complimentary frequencies) to the audio that bring richness and saturation that would be near impossible with standard equalisation.
Before modifying the frequency ‘bands’ in an equalizer, it is important to ask yourself the following questions:
What elements is the sound competing with?
What other elements does it need to fit in with?
Where do you want the sound to be in the mix?
What ‘colour’/’tone’ should the sound have?
UAD’s ‘Pultec EQP-1A Tube Program EQ’ plug-in, a popular ‘colour’ EQ. Based on the first program EQ, the Pultec EQP-1. credit: UAD
Equalizing Vocals: Quick Tips
When recording or editing raw vocals, there are few extra elements to consider when using equalization.
Firstly there are ‘pops’. These happen when vocalists create a loud ‘popping’ sound on ‘p’ consonants. They can arise anywhere from 500Hz-1KHz in vocal performances. They are removed as they are loud and disturb the balance of the mid-range frequencies of a track.
Secondly, there is ‘sibilance’, which is created when a harsh ‘s’ sound is made by a vocalist. These usually exist in the 3-6 kHz frequency range. They cause a bright, sharp sound within the mix which disturbs the high-frequency elements of a track.
Tip: you can use a plug-in called a ‘De-Esser’ to remove these, or use equalization as discussed earlier.
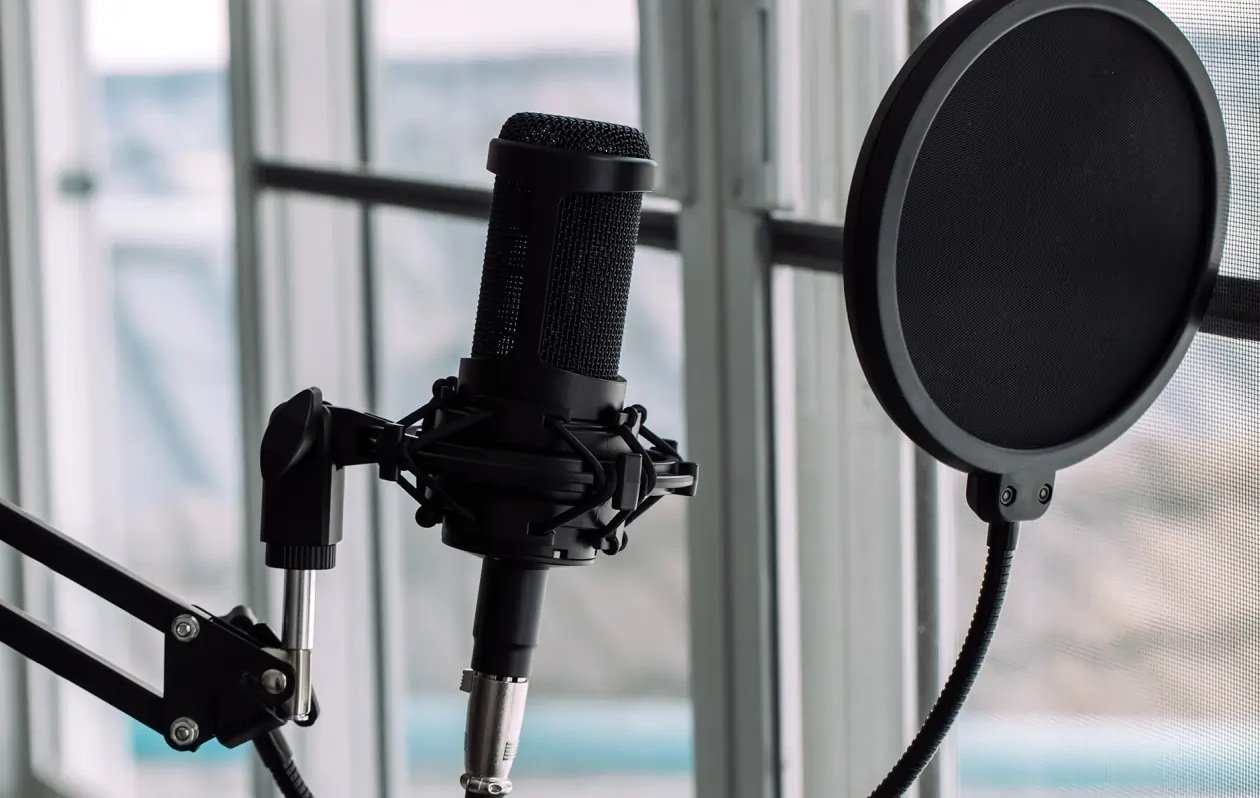
We use a ‘pop’ filter to counter pops & sibilances. credit: Lewitt
Final Considerations
It’s important to apply equalization in context, i.e. with all the tracks playing at the same time. It will also be easier to cut the frequencies of an instrument when the elements at the bottom of the spectrum are playing, as it will show you if ‘frequency masking’ is happening within your mix.
Sometimes though, solo EQ is necessary - but… that's in very specific cases! For example, when you want to eliminate bad resonance at a specific frequency in a recording for example.
Once you learn the basics, it’s ultimately up to you how you use equalization. The process of manipulating frequencies with EQ can produce a wide-range of interesting effects that open so many avenues for creativity.
Learn the basics, and then have fun!
—
Written by Valentin Cavanna
Edited by Saul Bell


